Sample Inventory
Summary
Sample Inventory is the Spring Hub tool for physical sample movements. Use it to scan QR codes when samples change hands, look up a product from a single sample, search active tracking by customer style, and print DYMO sample cards.
How to
Open the app
- Sign in to Spring Hub.
- Click Sample Inventory.
- Use the top navigation (on a phone, open Menu) to move between the areas below.
Sample Inventory
Record a transfer when samples move from one party to another.
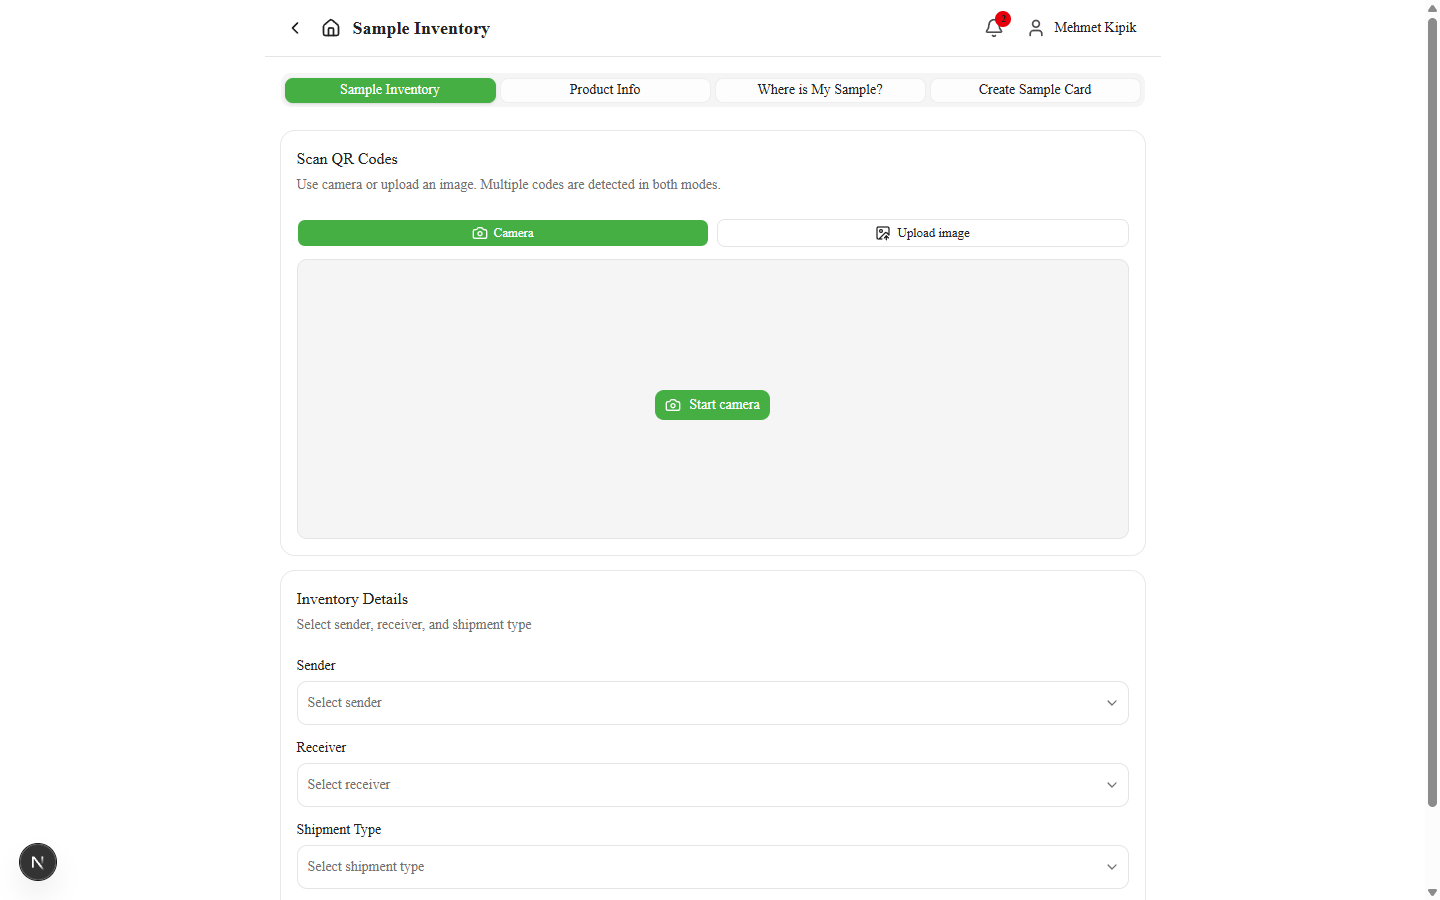
- Under Scan QR Codes, choose Camera or Upload image.
- Camera: tap Start camera, allow access if asked, and point at each sample QR. Codes are added to the list.
- Upload image: tap Select image(s) and pick one or more photos that contain QR codes.
- Check Scanned: N. Remove a single code with ×, or tap Clear all to start over.
- Under Inventory Details, set:
- Sender — who is sending (search with Search senders...)
- Receiver — who is receiving (search with Search receivers...). Camilla Bee (River Island) is also in the list. A sample sent to her counts as a customer send and sets the customer-sent date.
- Shipment Type — Face to Face, Cargo, or Other
- Tap Submit (N item(s)) (enabled only when at least one scan and all three fields are set). The button may briefly show Checking… while duplicate-trip and holder checks run. When checks pass, the scan list clears straight away and the transfer saves in the background.
- If the transfer is rejected, scanned codes return to the list.
- Read any dialog, then continue:
| Dialog | What it means | What to do |
|---|---|---|
| Records created | Transfer saved | Tap OK, then clear the list if you are finished |
| Sample not found | GUID is not in CRM | Check the QR / sample, then rescan |
| Sample already sent | This trip was already recorded | Confirm whether you meant a new transfer |
| Sender does not match current holder | Sample is expected with someone else | Cancel, or Confirm and submit if you intend to override |
| Some records could not be created | One or more rows failed after others succeeded | Review Failed records, fix, and retry the failed samples |
Expected result: Tracking records are created for the scanned samples. After a full success, sender / receiver / shipment type reset so you can start the next batch. Use Clear all if you need to discard scans before submitting.
Product Info
Identify a single sample and view its linked product (and CP) details.
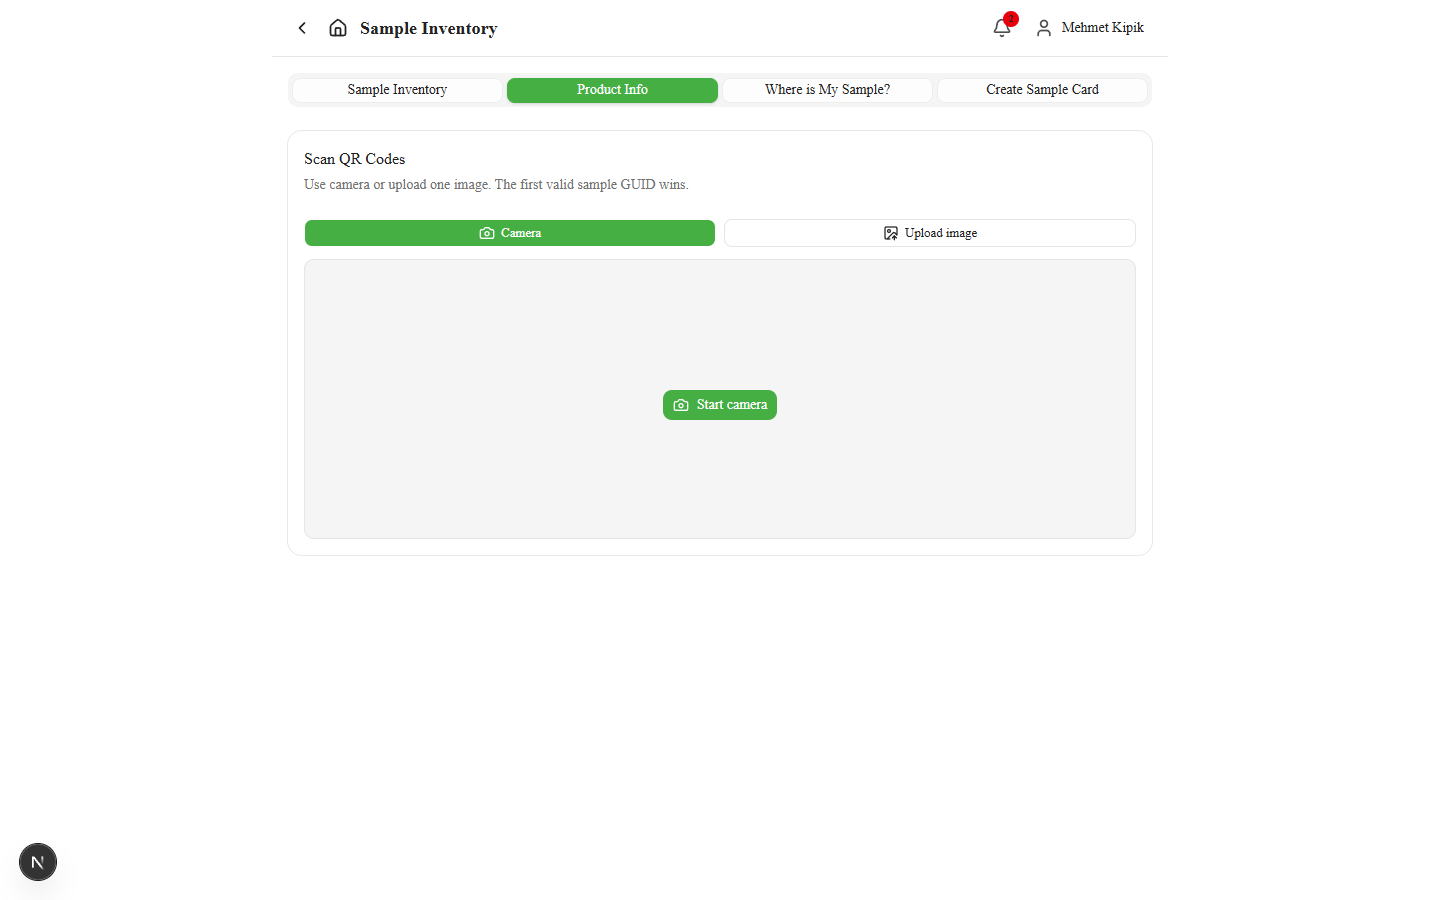
- Open Product Info.
- Under Scan QR Codes, use Camera or Upload image. Only the first valid sample GUID is kept.
- Confirm the Sample GUID list shows one code (tap Clear to rescan).
- Wait for Loading product….
- Review the results:
- CP submission (when linked) — Sample type, No of Samples
- Product — fields such as Cust style no, Customer, Department, Description, Material, Vendor, Fabric mill, Trim mill, Merch, Product designer, Print designer, Tech, BU, Season, and Status
If lookup fails, an error banner appears (for example Failed to load product details). If there is no linked CP submission, the CP block is hidden.
Where is My Sample?
Find active tracking records by customer style.
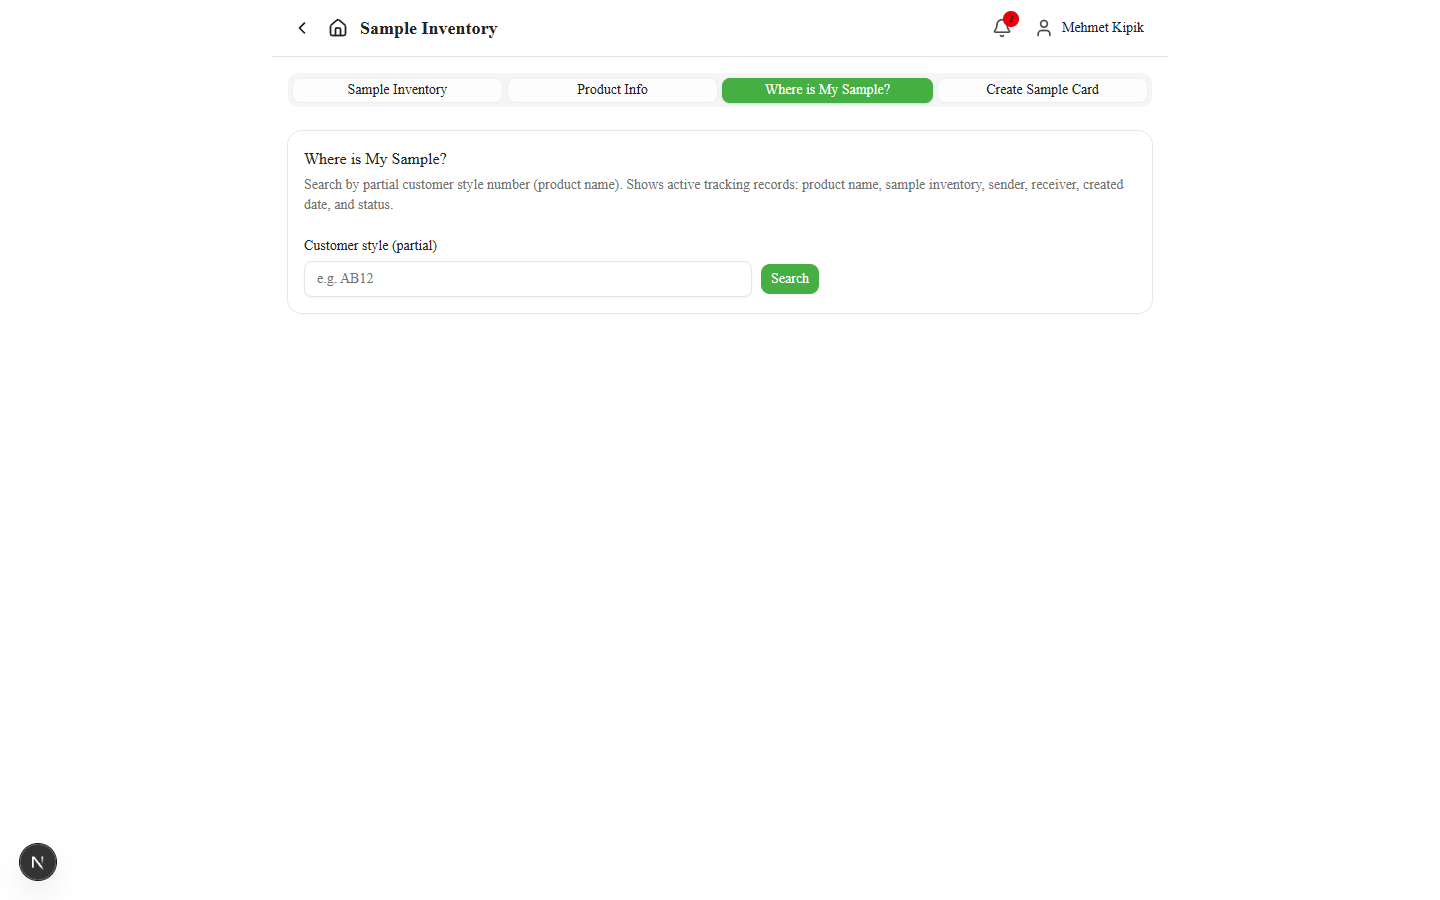
- Open Where is My Sample?.
- In Customer style (partial), type at least 4 characters (placeholder e.g. AB12).
- Tap Search (or press Enter). The button shows Searching… while it runs.
- Review the Results table:
| Column | Meaning |
|---|---|
| Product Name | Customer style / product |
| Sample Inventory | Sample identifier |
| Sender | Who sent |
| Receiver | Who received |
| Created | When the tracking row was created |
| Status | Current tracking status |
- Empty list: No active tracking records found for that style.
- Too short: Enter at least 4 characters to search.
Create Sample Card
Select development sample rows and download a DYMO label file.
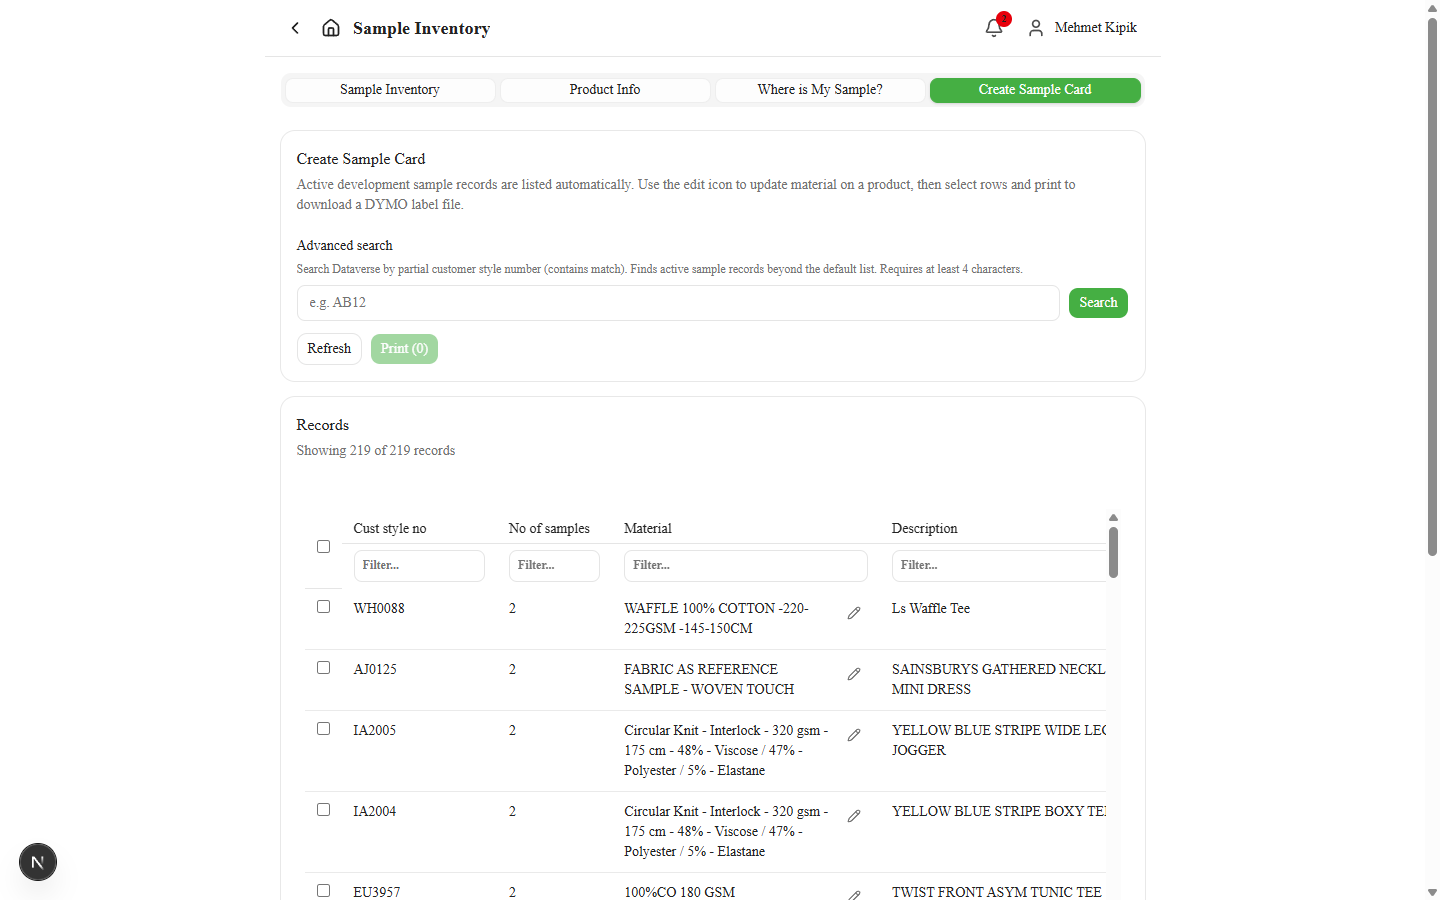
- Open Create Sample Card. The list loads automatically (Loading sample records...).
- Optionally use Advanced search: enter at least 4 characters, then tap Search.
- Optionally tap Refresh to reload the default list.
- In Records, you can:
- Sort a column (▲ / ▼)
- Narrow rows with Filter... under each column
- Select individual rows, or use the select-all checkbox
- To change material on a row, tap the pencil on Material → Edit material → update the Material field (optionally Search components) → Save. The table updates at once and saves in the background.
- To change sample count on a row, tap the pencil on No of samples → Edit no of samples → enter the value → Save. The table updates at once and saves in the background. This updates the linked CP submission in CRM. Editing is blocked if any sample tracking records already exist for sample inventory linked to that CP submission.
- Tap Print (N) (shows Generating...). If a selected customer account has no Spring Code, Missing Spring Code lists the Cust style no values — tap Print anyway to download, or Cancel. Otherwise your browser downloads a
.dymolabel file. Printed cards show Spring Code (from the customer account) instead of the customer name.
Columns include Cust style no, Spring Code, Vendor, No of samples, Material, Description, and Created on (newest first by default).
Each row is one CP submission. A style sent by more than one vendor shows one row per vendor, each with its own No of samples. Printing a row creates a label for each of that row's samples only.
Empty states include No eligible sample records found., No sample records found for "…"., or No records match your column filters.
Exceptions and Escalation
- QR will not scan or is not a GUID — try better lighting, another image, or confirm the label.
- Party lists show Could not load… from CRM — refresh and escalate to IT if it continues.
- Missing Spring Code when printing — the customer account has no Spring Code. Print anyway leaves Spring Code blank on the label; or cancel and ask merchandising to set the code in CRM.
- Submit or product lookup keeps failing — escalate to Merchandising or IT with the sample GUID and a screenshot.